Creating an outdoor living space that’s both beautiful and functional begins with a solid foundation, and pavers represent one of the most durable, beautiful, and versatile foundation options available today. Whether you’re designing an intimate sitting area, an expansive entertainment patio, or a pathway connecting different areas of your landscape, choosing the right pavers is crucial to achieving your vision. The world of patio pavers offers numerous options in terms of materials, colors, textures, and patterns, making the selection process both exciting and potentially overwhelming. This comprehensive guide will walk you through everything you need to know about pavers, from the basic material differences to intricate installation patterns, helping you make an informed decision that perfectly balances your aesthetic goals, budget, and functional needs.
Material Breakdown: Pros, Cons & Cost
The material you choose for your pavers will significantly impact not only the appearance of your patio but also its durability, maintenance requirements, and total project cost. Each material has unique characteristics that make it more suitable for certain applications than others.
Concrete Pavers
Pros: Concrete pavers are the most affordable option, typically costing $3-8 per square foot installed. They offer an enormous variety of shapes, colors, and textures that can mimic more expensive materials like natural stone. Concrete pavers are extremely durable, lasting 20-50 years with proper installation, and they’re easy to replace if individual pieces become damaged.
Cons: While they can look like other materials, concrete pavers may not have the authentic appearance of natural stone. They can be susceptible to cracking over time, especially if the installation base isn’t properly prepared. They may also be more prone to staining than other materials.
Cost Range: $3-8 per square foot installed
Quality Tip: When choosing concrete pavers, invest in those with higher compressive strength ratings, especially for areas that will experience vehicle traffic. Look for pavers with a rating of at least 8,000 psi for optimal durability.
Brick Pavers
Pros: Brick pavers offer a classic, timeless look that adds character and charm to any home. They’re extremely durable, with many brick patios lasting over 100 years. The color won’t fade over time as it’s integral to the clay material, and they’re naturally resistant to stains and environmental damage.
Cons: Brick pavers typically cost more than concrete pavers ($5-12 per square foot installed), and they can become slippery when wet. They’re also more labor-intensive to install, which can increase project costs. The color options are limited compared to concrete pavers.
Cost Range: $5-12 per square foot installed
Historical Note: Clay brick pavers were used in ancient Rome and continue to provide service today. Modern brick pavers use similar manufacturing processes but with improved consistency and quality control.
Natural Stone Pavers (Flagstone/Travertine)
Pros: Natural stone pavers offer the highest-end look with unique, natural patterns and textures that make each installation one-of-a-kind. They’re extremely durable and can last for decades with minimal maintenance. Materials like travertine have natural cooling properties, making them comfortable to walk on in hot weather.
Cons: Natural stone is the most expensive option ($15-35 per square foot installed), and it can be more susceptible to staining and scratching than manufactured options. The natural variations mean you might receive pieces that don’t match your expectations, and some stones may be prone to cracking in freeze-thaw climates.
Cost Range: $15-35 per square foot installed
Popular Laying Patterns Explained
The pattern in which you lay your pavers can dramatically affect the aesthetic appeal of your patio. Different patterns work better with certain shapes and materials, and some are easier to install than others.
Herringbone Pattern:
The herringbone pattern creates a distinctive zigzag design that’s both visually appealing and structurally stable. This pattern works best with rectangular pavers and provides excellent interlocking strength. The pattern is available in two orientations: 45-degree and 90-degree herringbone. The 90-degree version is slightly easier to lay but both create a distinctive, dynamic look that draws the eye across the surface.
Installation Tip: The herringbone pattern creates natural expansion joints that help accommodate temperature changes, making it an excellent choice for areas with significant temperature variations.
Basket Weave Pattern:
This pattern alternates two pavers with one paver, creating a woven appearance. It’s more complex to install than basic patterns but provides an elegant, classic look. Basket weave works best with rectangular pavers and requires careful planning to maintain the pattern across the entire surface.
The pattern creates visual interest and works well in formal settings. However, it requires more precise cutting for edges and obstacles, potentially increasing installation costs.
Running Bond Pattern:
The running bond pattern is the simplest to install, similar to brick walls where joints align in rows with each row offset by half the length of the paver. This pattern works well with rectangular pavers and creates a clean, contemporary appearance.
While easier to install, running bond may require more edge restraints to prevent shifting over time. It’s an excellent choice for large, open areas where simplicity and cost-effectiveness are priorities.
Other Popular Patterns:
- Stack Bond: Pavers are aligned directly on top of each other, creating a grid pattern. Simple but can appear less refined.
- Pinwheel: Combines four smaller square pavers with one larger square, creating a focal point pattern.
- Fan Pattern: Creates a radiating design from a central point, ideal for circular patios or around focal elements.
- Circle Pattern: Uses curved cuts to create circular designs within the rectangular paver field.
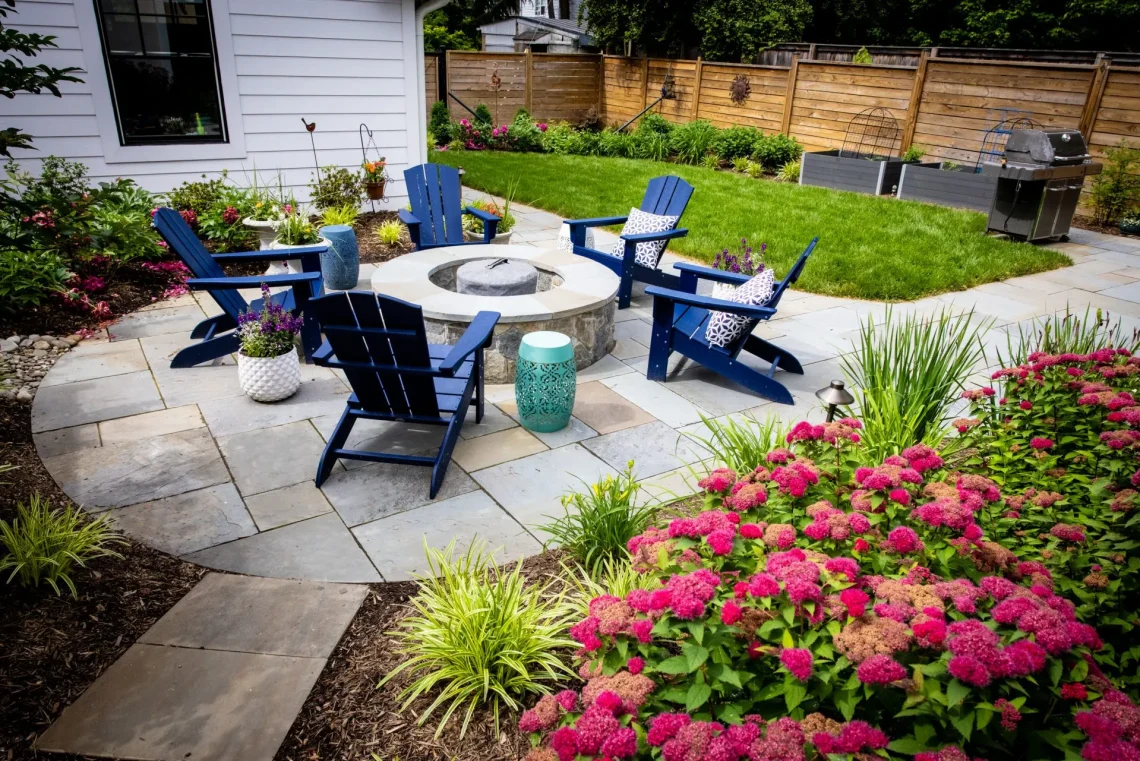
Planning the Foundation – The Most Critical Step
The success of your paver installation depends entirely on the quality of the foundation. A proper base prevents shifting, settling, and heaving that can occur from frost or ground movement. This foundation work may seem like overkill for a simple patio, but it’s what separates long-lasting paver installations from those that quickly develop problems.
The Proper Base Components:
Subgrade Preparation: The existing ground must be properly compacted and level. Remove any vegetation or organic matter, and ensure proper drainage away from the installation area. Use a plate compactor to firmly compact the subgrade.
Gravel Base: Install 4-6 inches of compacted gravel (typically 3/4-inch crushed stone) as the primary foundation. This layer provides drainage and distributes weight evenly. Use a plate compactor to compact this layer thoroughly.
Sand Setting Bed: Add 1 inch of coarse sand (also called paver sand or bedding sand) that will provide the final level surface for your pavers. This sand should be spread evenly and screeded level.
Foundation Warning: Cutting corners on the foundation is the most common cause of paver failure. The foundation should be 6-8 inches deep total (including pavers) and extend at least 6 inches beyond the finished edge of your patio.
Drainage Considerations:
Proper drainage is crucial for paver longevity. The base should be sloped away from your house at a rate of 1/4 inch per foot to prevent water accumulation. In areas with poor drainage, consider installing French drains or other drainage solutions before beginning the paver installation.
For areas with significant slopes, terracing might be necessary to create functional level areas while maintaining proper drainage.
DIY vs. Hiring a Pro – Making the Right Choice
Installing pavers can be a DIY project with the right tools, patience, and skills, but it’s not always the best choice. Understanding the complexity and requirements of a quality installation will help you make an informed decision about whether to tackle the project yourself or hire professionals.
DIY Considerations:
Skills Required: Successful DIY paver installation requires basic construction skills including measuring, cutting, mixing concrete, and using power equipment like plate compactors. You’ll also need a good understanding of proper excavation and drainage techniques.
Tools Needed: At minimum, you’ll need a plate compactor, rubber mallet, paver cutter or wet saw, levels, stakes and string for layout, and various hand tools. Renting these tools can add significantly to the cost of a DIY project.
Physical Demands: Paver installation is physically demanding work involving excavation, heavy lifting, and repetitive tasks. The job typically takes longer than most DIYers anticipate.
Realistic Timeline: A 200 square foot patio installation might take a DIYer 4-6 days compared to 1-2 days for experienced professionals. Consider the value of your time when calculating cost savings.
Professional Installation Benefits:
Expertise: Professionals have experience with proper base preparation and can identify potential issues before they become problems. They also have access to commercial-grade equipment and materials.
Warranty: Reputable contractors typically offer warranties on their work, providing peace of mind that any issues will be addressed professionally.
Time Savings: Professional installation is significantly faster, allowing you to enjoy your new outdoor space sooner.
Hybrid Approach: Consider hiring professionals for the base preparation and layout, then doing the actual paver installation yourself. This ensures a proper foundation while reducing overall costs.
Cost Analysis and Budgeting
Understanding the total cost of your paver project is essential for proper planning. Many homeowners focus only on the material costs and overlook the significant expenses related to installation, preparation, and additional elements.
Cost Components:
- Materials: Varies significantly based on paver type (3-35 per sq ft)
- Labor: $3-10 per sq ft for professional installation
- Site Preparation: $1-3 per sq ft (excavation, base materials)
- Special Features: Edging, lighting, built-in seating can add 10-30% to project cost
Budget-Saving Strategies:
Do Your Own Preparation: If you’re physically capable, doing the excavation and base preparation can significantly reduce project costs. However, ensure you do it properly to avoid future issues.
Choose Cost-Effective Materials: Concrete pavers can achieve the look of more expensive materials at a fraction of the cost. Look for pavers with integral color rather than surface-applied color for better longevity.
Plan Efficient Layouts: Straight lines and simple patterns require less cutting and waste than complex designs, reducing both material and labor costs.
Hidden Costs: Don’t forget to factor in permits, utility location calls, disposal fees for existing materials, and seasonal timing impacts on pricing when budgeting your project.
Maintaining Your Paver Investment
While pavers are among the most durable hardscape options available, proper maintenance ensures they continue to look beautiful and function properly for decades. Maintenance for pavers differs from other hardscape materials and requires specific approaches.
Regular Maintenance:
Sweeping: Regular sweeping prevents dirt accumulation and helps maintain the sand in the joints. Use a stiff-bristled broom to work sand back into joints as needed.
Weeding: Remove weeds that sprout in joint sand promptly. For concrete pavers, you can use a diluted bleach solution (1 part bleach to 10 parts water) to kill weeds and prevent regrowth.
Stain Removal: Clean spills promptly to prevent staining. For oil stains, use a commercial degreaser. For organic stains, try a solution of white vinegar and water.
Joint Sand Maintenance: Over time, joint sand settles and washes away. Plan to add joint sand every 3-5 years to maintain the interlocking function of your pavers.
Professional Maintenance:
Consider professional cleaning every 2-3 years, especially for natural stone or when DIY methods aren’t effective. Professionals have access to equipment and solutions that provide more thorough cleaning without damaging your pavers.
Sealing is optional but can enhance color and provide additional stain resistance. Most manufacturers don’t require sealing, but it can extend the time between deep cleanings.
Environmental and Practical Considerations
Modern hardscape design increasingly considers environmental impact and practical functionality. When choosing your pavers, consider not just aesthetics and cost, but also how your choice impacts your local environment and serves your daily needs.
Permeable Pavers:
In areas with strict stormwater management requirements, consider permeable pavers that allow water to drain through the joints into the ground below. These systems reduce runoff and can help manage water on your property while providing the same aesthetic appeal as traditional pavers.
Permeable pavers typically cost 20-40% more than traditional pavers but may be required by local regulations or qualify for rebates. They require specific installation techniques and maintenance practices to function properly.
Climate Considerations:
In freeze-thaw climates, choose pavers that can withstand repeated freezing and thawing cycles. Natural stone like granite and certain concrete pavers designed for cold climates are better choices than other materials.
In hot climates, consider pavers with lighter colors that don’t absorb excessive heat. Some materials like travertine naturally stay cooler than darker alternatives.
Sustainability Option: Recycled concrete pavers are becoming increasingly available and offer an environmentally friendly alternative to new concrete while maintaining similar performance characteristics.
Conclusion
Choosing the right pavers for your patio project is a decision that will impact both the appearance and functionality of your outdoor space for decades to come. The wide variety of materials, patterns, and installation methods available today ensures that you can find the perfect solution for your specific needs, budget, and aesthetic preferences.
Remember that the foundation of any successful paver installation is proper preparation and base construction. No matter how beautiful your chosen pavers are, they will fail prematurely without a proper foundation. Invest time and resources in the base work, and your pavers will reward you with decades of beauty and function.
Whether you choose the affordability and versatility of concrete pavers, the classic appeal of brick, or the luxury of natural stone, the key to satisfaction lies in making an informed choice based on your specific circumstances. Consider not only the initial cost but also the long-term value, maintenance requirements, and how well the choice fits with your overall landscape design.
Take time to examine samples in person under different lighting conditions, consider professional consultation if the project is complex, and factor in the total project cost including installation when making your final decision. With proper planning and execution, your new paver patio will become the centerpiece of your outdoor living space for years to come.